**Concrete Penetration Resistance Meter HG-1000**
The HG-1000 Concrete Penetration Resistance Tester is a specialized instrument designed to determine the setting time of concrete using the penetration resistance method. It is widely used in construction and civil engineering industries for quality control and material testing.
### **Technical Specifications**
- **Sample Container Dimensions:** Φ160mm × φ150mm × 150mm
- **Maximum Penetration Force:** 1000N
- **Penetration Depth:** 25mm
- **Penetration Speed:** 2.5mm/s
- **Penetration Needle Cross Sectional Areas:** 100 mm², 50 mm², 20 mm²
- **Penetration Points:**
- Outer Ring: 9 points
- Inner Ring: 4 points
- **Force Measurement Method:** Hydraulic, pressure-based
- **Minimum Division Value:** 5N
- **Indication Error:** ±10N
- **Power Supply:** 220V, 50Hz
- **Power Consumption:** 70W
### **Structure and Working Principle**
The HG-1000 operates by fixing a penetration needle while the sample container moves upward, simulating the penetration process. The motor, connected through a planetary reducer, rotates at a controlled speed and transfers motion to a cam mechanism. This cam pushes a roller, which lifts the sleeve and the sample container simultaneously, allowing the needle to penetrate the concrete at a constant rate.
The resistance is measured using a sealed chamber pressure gauge. When the needle penetrates the sample, the force compresses the oil in the chamber, increasing the pressure. This pressure is then read on the gauge, providing a direct measurement of the penetration resistance.
### **Operation and Usage**
1. Place the instrument on a flat, stable surface.
2. Fill the sample container with fresh concrete and position it on the chassis.
3. Loosen the adjustment screw and select the appropriate penetration needle (100 mm² for initial setting, 20 mm² for final setting).
4. Adjust the needle so that it just touches the surface of the concrete.
5. Set the toggle switch to the "Adjustment" position and align the gauge pointer with the zero line.
6. Switch the toggle to "Forward" and press the start button. The sample container will rise after a delay and begin penetration.
7. After 10 seconds, the needle will reach the maximum depth of 25mm. Record the pressure gauge reading.
8. The sample container will then descend automatically after 4 seconds and return to its original position.
For repeated tests, simply press the "Start" button again. If you need to change the penetration point, rotate the handle to shift the needle between the outer and inner rings. A small clicking sound indicates the position has changed.
### **Penetration Needle Options**
- **100 mm²:** Used for initial setting tests
- **50 mm²:** For intermediate readings
- **20 mm²:** Required for final setting tests
### **Pressure Gauge Features**
The pressure gauge has two scales:
- **Inner Scale (0–1.6 MPa):** Indicates oil pressure in the chamber.
- **Outer Scale:** Shows the force applied to the needle. The penetration resistance is calculated as force divided by the cross-sectional area of the needle.
- **350N Line:** Corresponds to 3.5MPa (for 100 mm² needle) – initial setting point
- **560N Line:** Corresponds to 28MPa (for 20 mm² needle) – final setting point
### **Maintenance and Care**
- Regularly clean non-painted metal surfaces and apply oil to prevent rust.
- The chassis includes an oil cup; lubricate it periodically to ensure smooth operation of the lifting sleeve.
- If the pressure gauge pointer cannot be adjusted to zero, check for oil leakage and refill with suitable oil. Avoid air bubbles during refueling.
### **Troubleshooting**
If the needle becomes stuck or the test is interrupted, place the toggle switch in the "Reverse" position and press the work button to lift the needle and disengage from the sample.
### **Annual Inspection**
It is recommended to have the entire unit inspected annually. Contact the manufacturer for inspection tools and services.
---
**Related Products & Articles**
- [New Product Announcement] 1N212 (August 10, 2016)
- [New Product Announcement] 1N203 (August 10, 2016)
- [New Product Announcement] 1N202 (August 10, 2016)
- [New Product Announcement] 1N194A (August 10, 2016)
- [New Product Announcement] 1N78C (August 10, 2016)
*Share this article:*
[Facebook] | [Twitter] | [LinkedIn] | [WeChat]
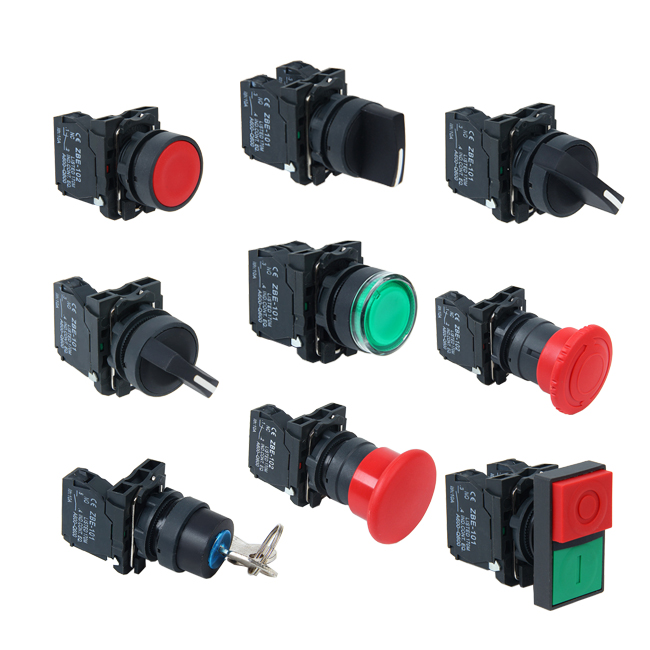
XB5 series Pushbutton Switch is copy Schnaider newest design, which with high quality plastic material and smart design.In electronics, the switch is an electrical component which can break electrical circuit,interrupting current or diverting it from one conductor to another.The most familiar form of switch is a manually operated electromechanical device with one or more sets of electrical contacts.

XB5 Series Pushbutton Switch,Push Button Electrical Switch,Led Push Button Switch,Small Push Button Switch
Ningbo Bond Industrial Electric Co., Ltd. , https://www.bondelectro.com